

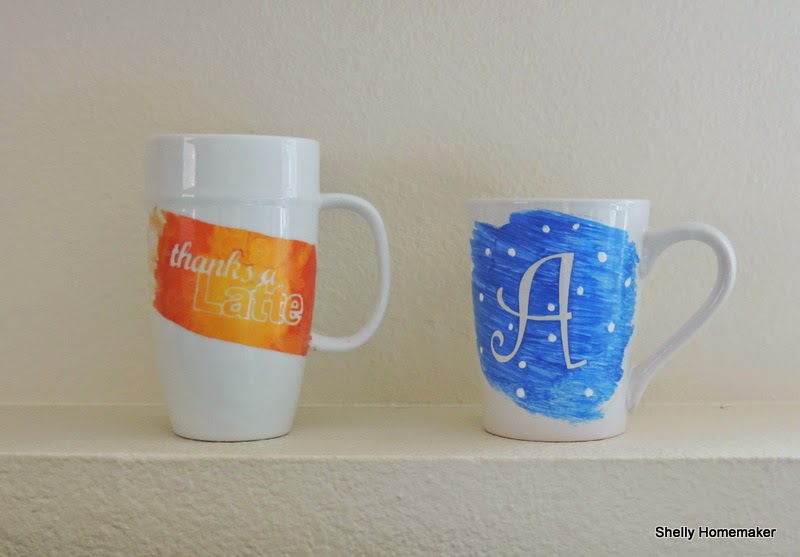
Michelle Gutschick from Shellyhomemaker.com is back this week with a fun and easy DIY hand painted mug project! With school almost out, we think these would make adorable teacher gifts!
Do you love your handwriting?
Yeah, me neither, at least not all the time.
The wonderful thing about these hand-painted mugs, is that you don’t have to have an artistic bone in your body to paint them. All you have to do is cut out, or buy a cute sticker.
Can you cut out, or buy a cute sticker?
Good, then you may continue.
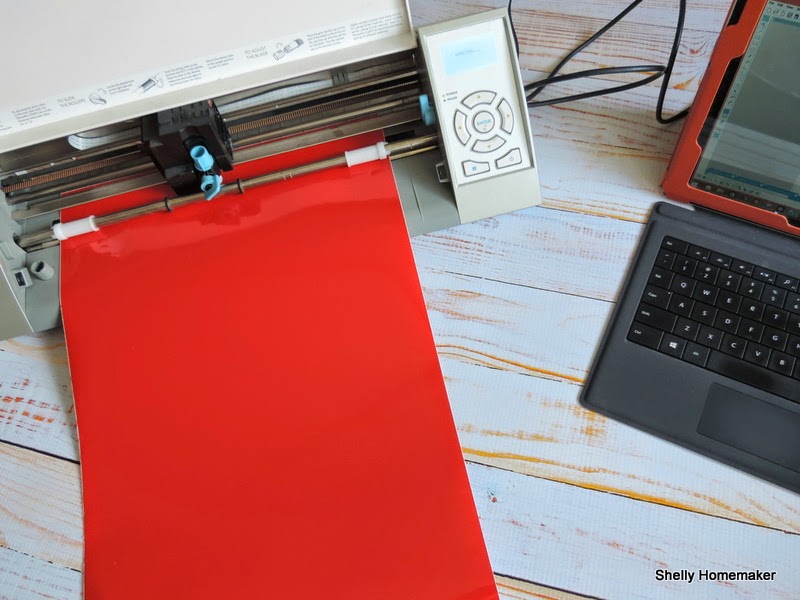
If you are a serious crafter and don’t already have a Silhouette Cameo, you might want to consider it. I have been able to do so many fun projects because of this machine… but that’s a post for another day.

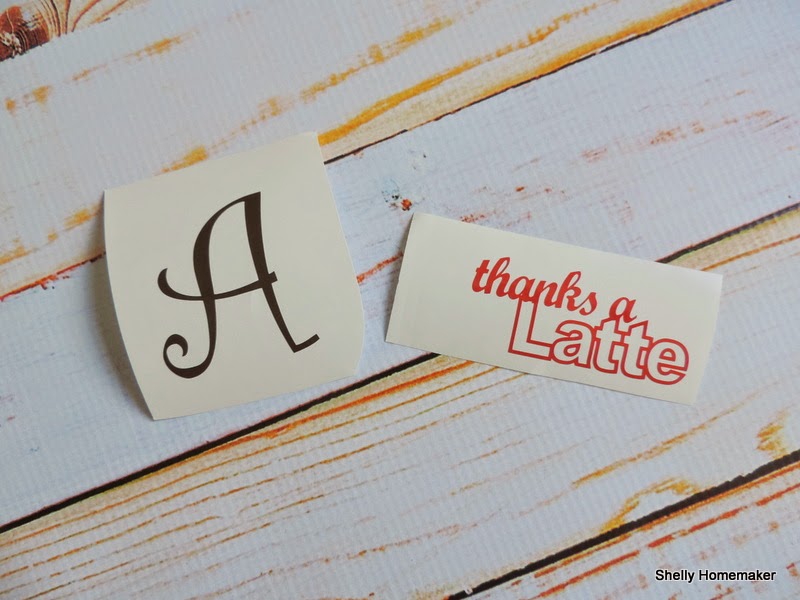
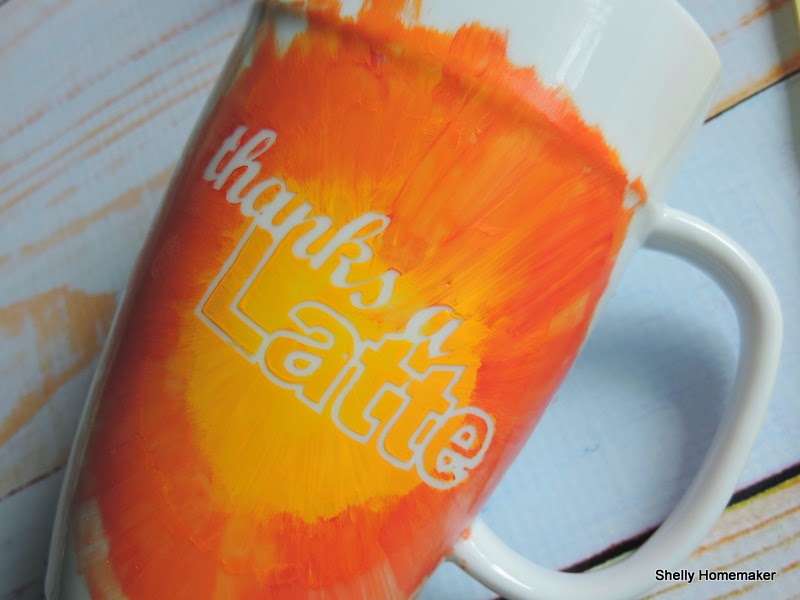
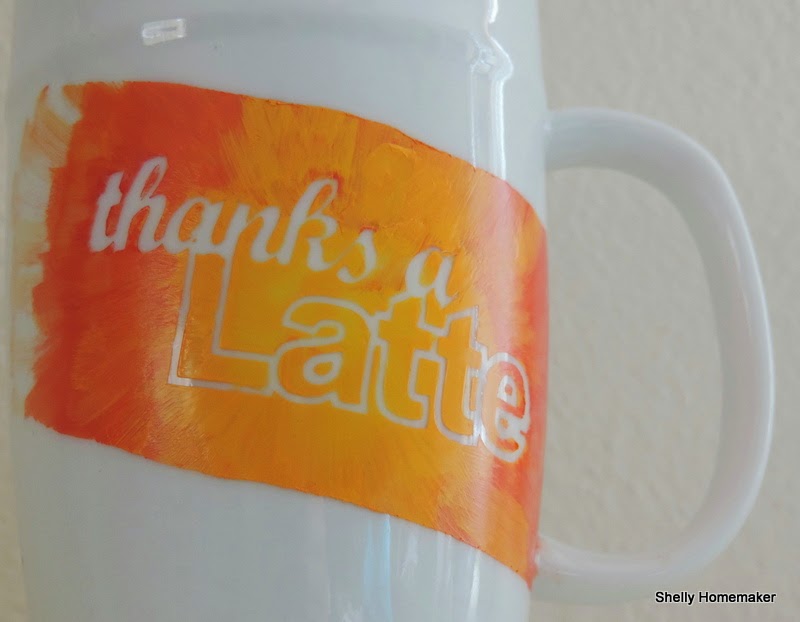
For this project I went to the Silhouette online store and purchased the “Thanks a latte” art, because well it’s hilarious, and selected the letter “A” out of a pretty in stock font from my computer, and cut them out on some leftover adhesive vinyl from another project.
Don’t have the Silhouette? No problem, you can hit up the craft store and pick up some cute letters, or shapes and use that! Spell out a name, make a monogram, anything will work!
The next part is the fun part. Using glass/ceramic paint from the craft store your going to paint over the stickers. Make sure you are using paint that you can use on ceramics (this will require cooking them in the oven so that it doesn’t wash off.) They will be labeled and in the same location as the other craft paints at the store.
This is a project you can even get the kids involved in! Making it for their teacher, dad or grandma? Let them do the painting!

For “Thanks a Latte” I had in mind a ombre or starburst idea. Starting with the lightest color in the center and adding darker as I went out.
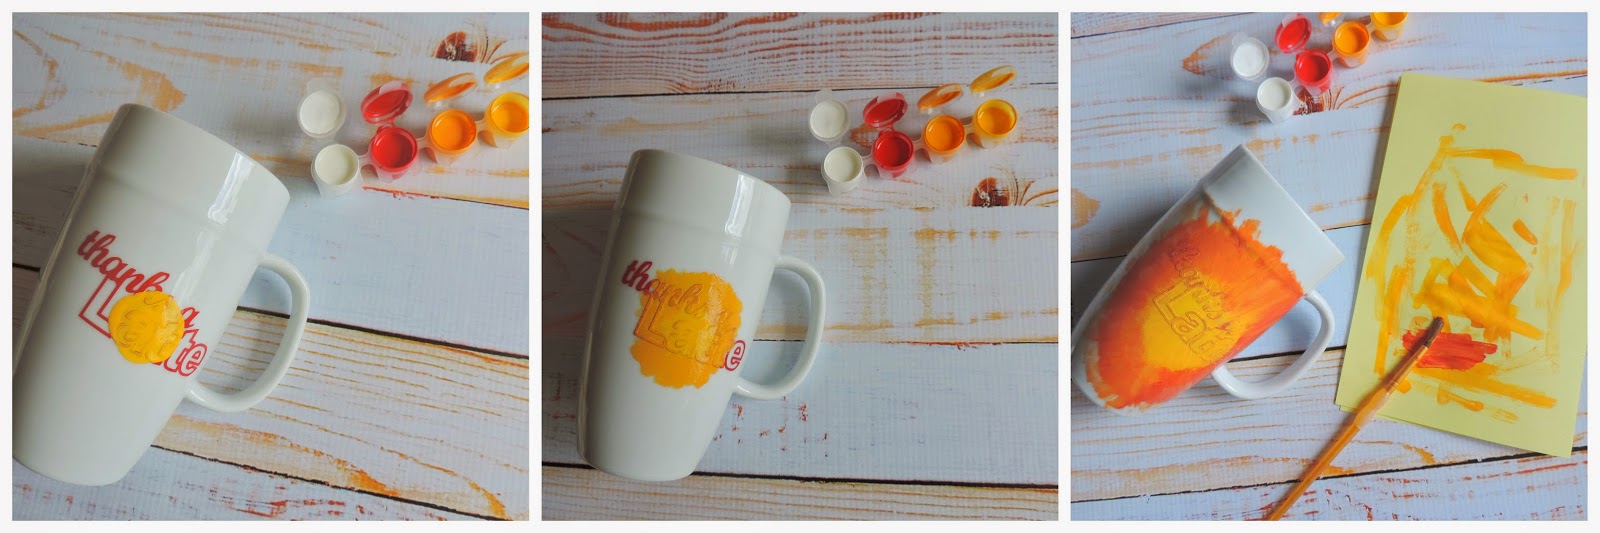
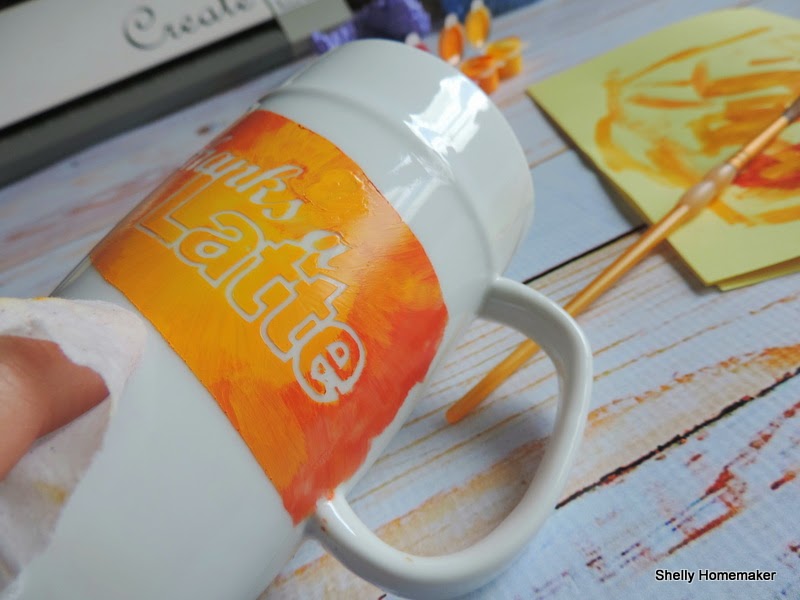
Before the paint dries CAREFULLY remove the sticker.
Voila! and I didn’t like it….
2 choices, wash and start over, or modify.
Being that I am incredibly slightly impatient I opted for modify.
Taking a baby wipe (a wet paper towel also works), I washed off the top and bottom to my design.
Much better.
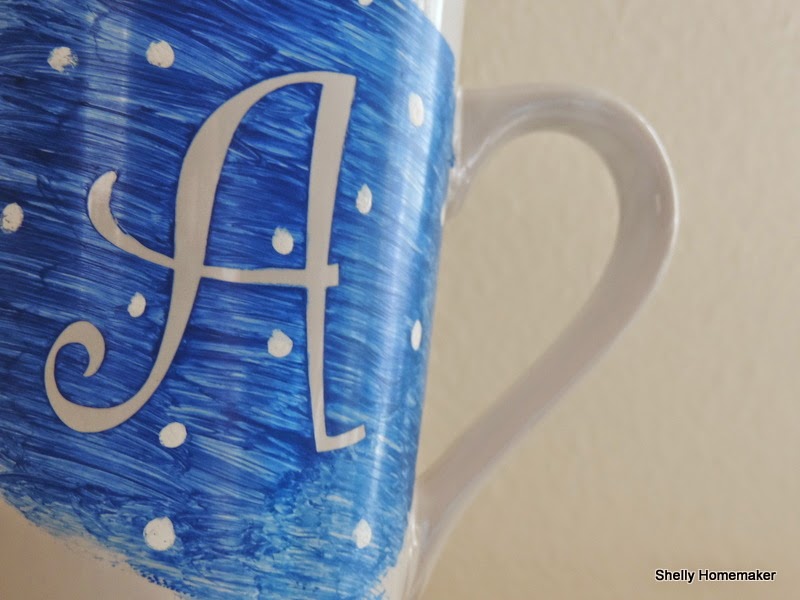
For the “A” I went blue then some simple polka dots…
Much harder to mess up, start there if this is new to you.
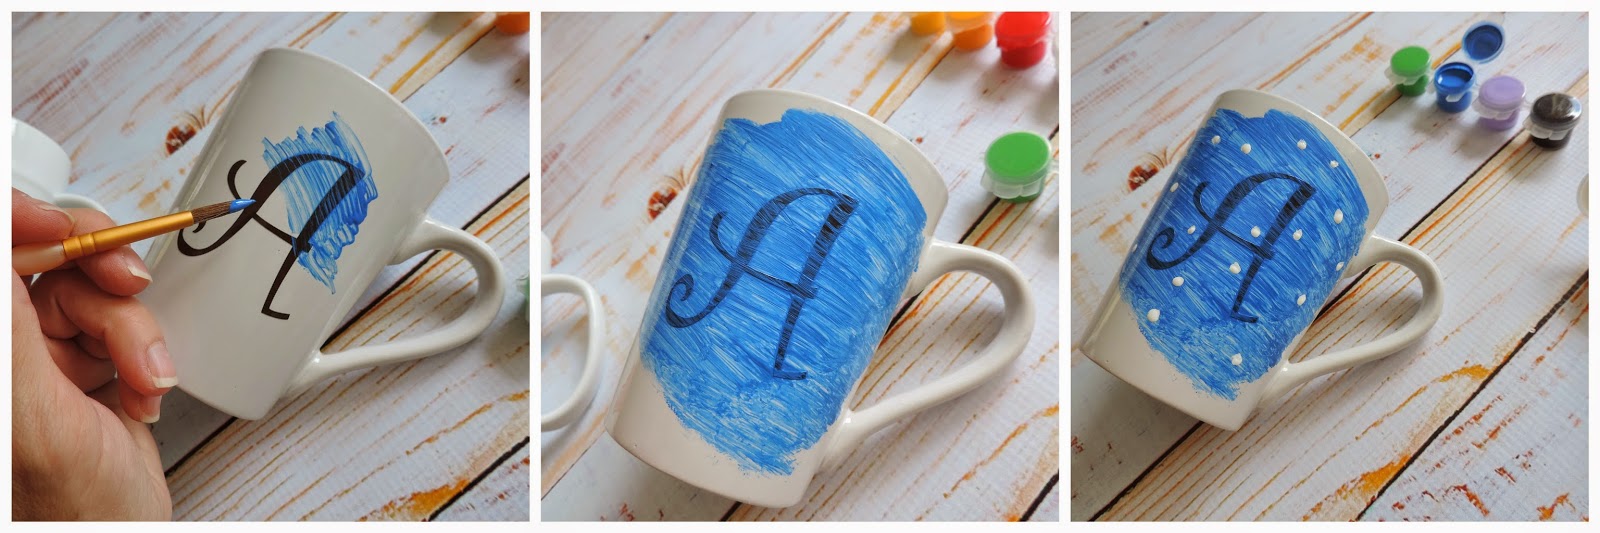
Carefully pull off the stickers before the paint dries.
Here is where you have to follow the directions for your paint.
Mine required me to wait 8 hours, then bake at 325 for 45 minutes. The different brands vary slightly so be sure to check your directions.
Stuff these with a gift card, or some cocoa packets and what teacher wouldn’t love this thoughtful gift. Perfect for the end of the year!

Like this post and wanna see more? Follow me at http://www.shellyhomemaker.com, on Facebook and Instagram!


