

Michelle Gutschick from Shellyhomemaker.com is back this week with another cute Craft Mama tutorial! These headbands are easy and adorable!!
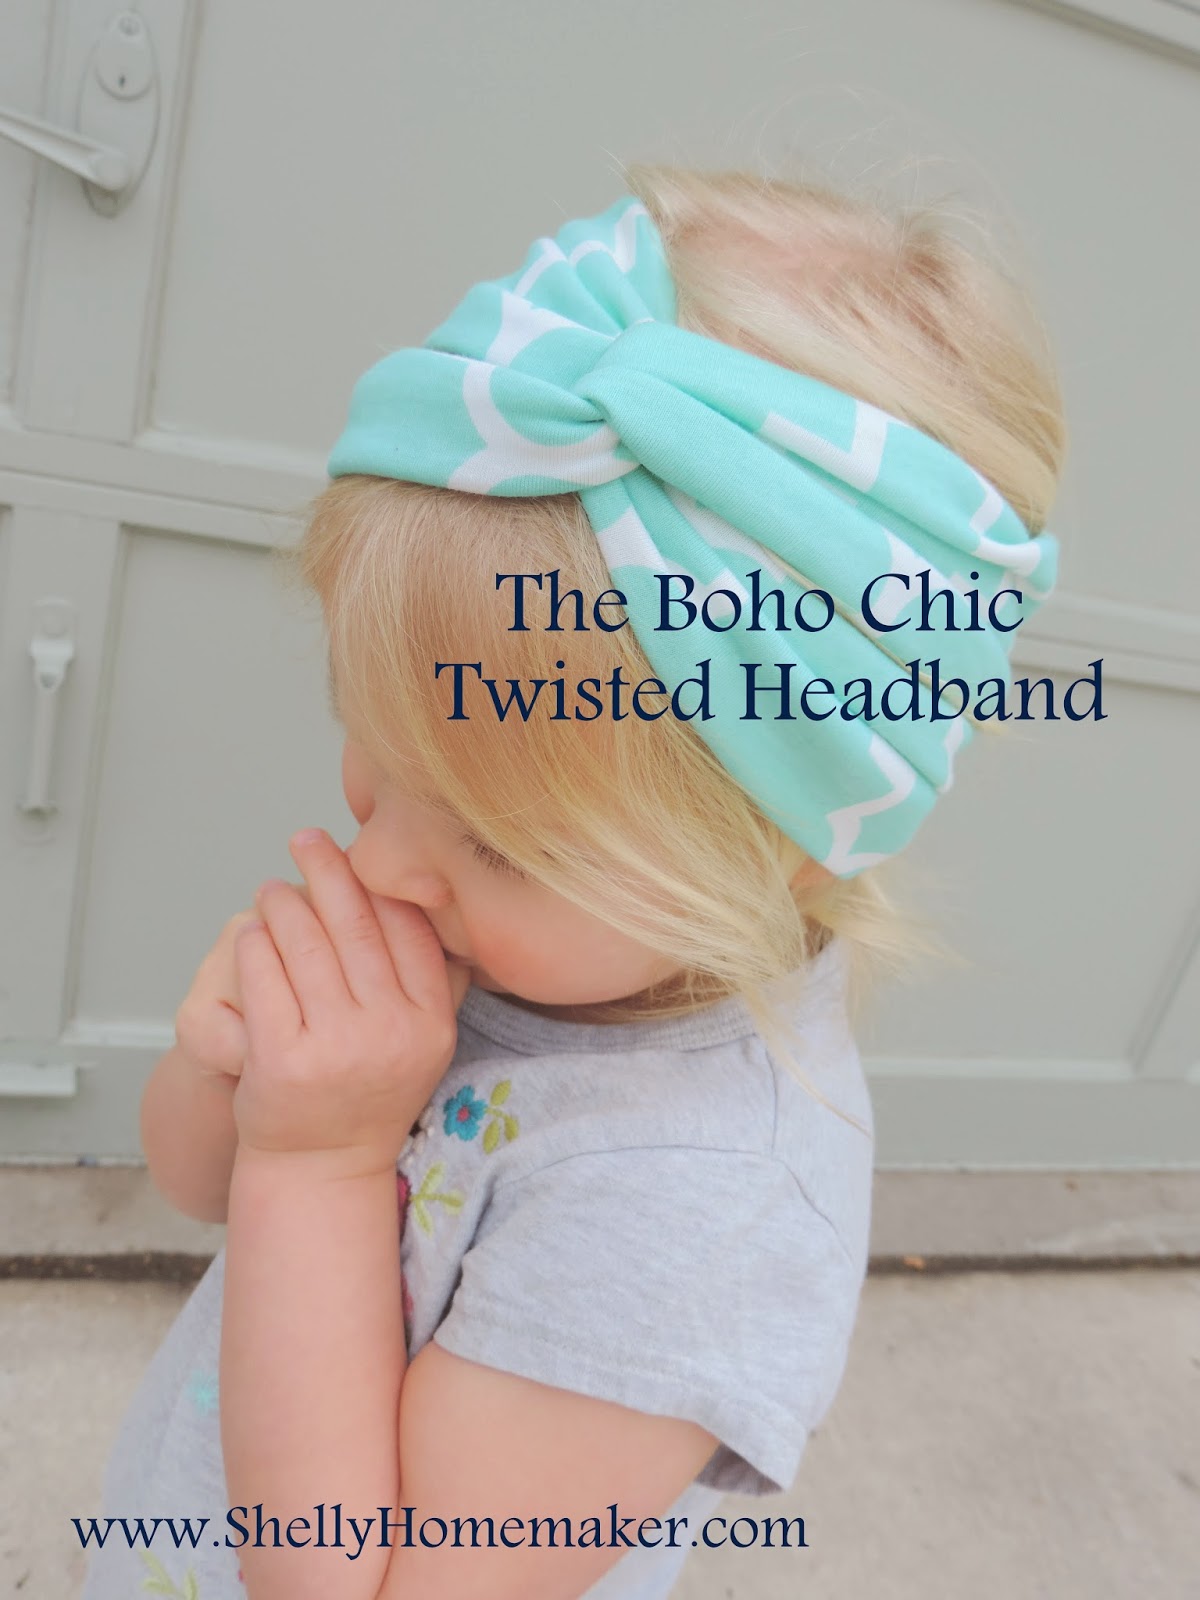
This project is a pretty simple one. Great for beginners on the sewing machine.
Materials:
- 1/4 yard – stretchy fabric (I use jersey cotton)
- Rotary and mat or scissors
- Sewing Machine
- Thread
- Soft Measuring Tape
Getting Started:
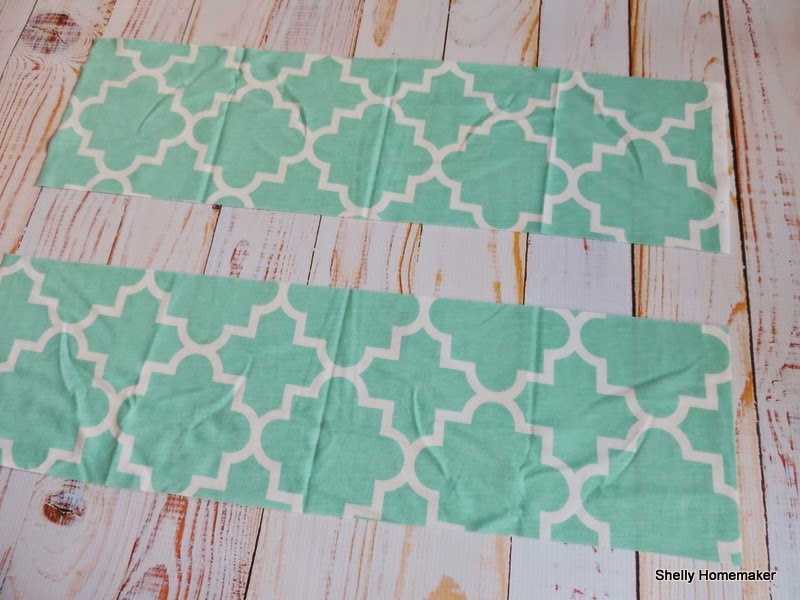
Cut out the 2 pieces of fabric to make the twisted headband:
To find the Length, measure your (or the wearers) head in the place where the headband will rest.
Subtract 1″ for most fabrics, but for ones with tons of stretch, subtract 2″
For the Width – I go with 6″ if you like a thinner headband, shrink accordingly.
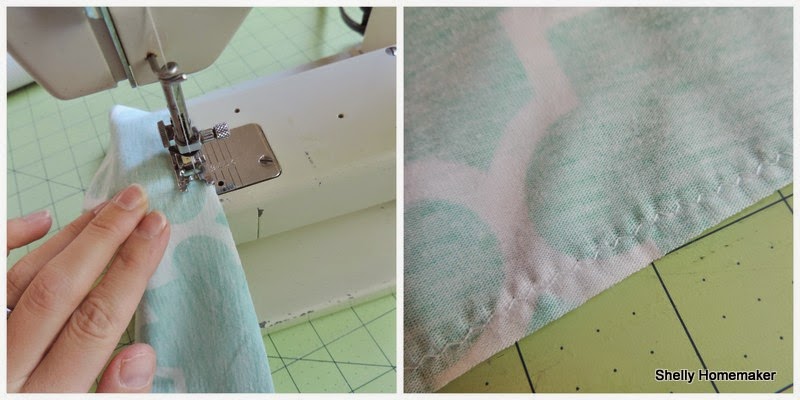
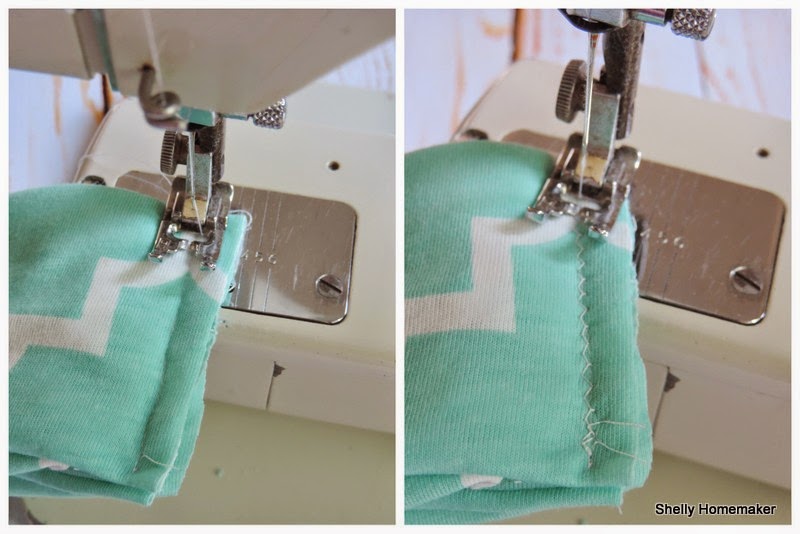
Fold fabric right sides together, length wise and zig zag (or serge) up the side, and turn right side out
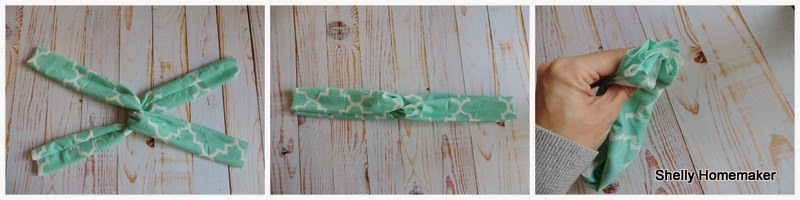
Cross the two pieces of fabric to form an x with the seams in the center
Pull end together to make the twist in the center
Stack the 4 ends together, keeping flat and all seams in the middle
Zig Zag and straight stitch the ends together for a strong seam. (If you have a serger, this is a great place to use it)
Trim off the excess, as close to the seam as possible, without cutting it
Turn the headband right side out so the seam is on the inside and slip it on!
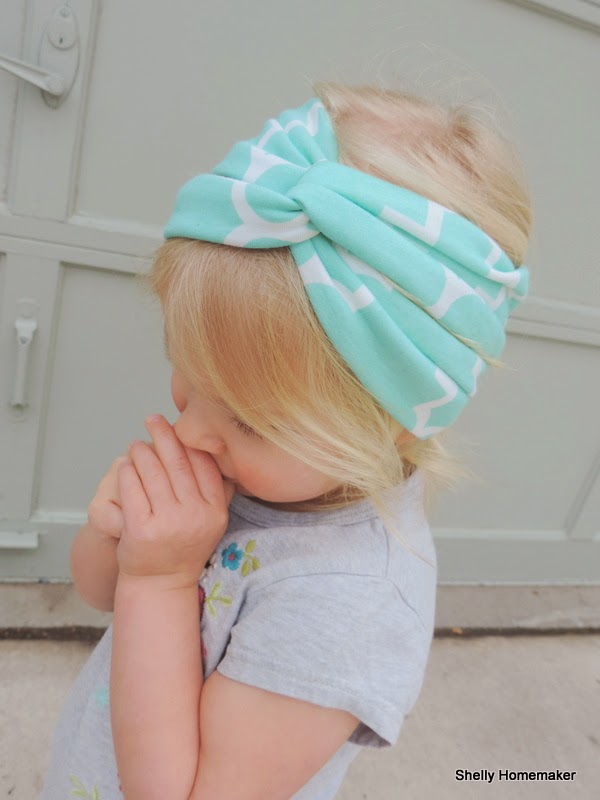
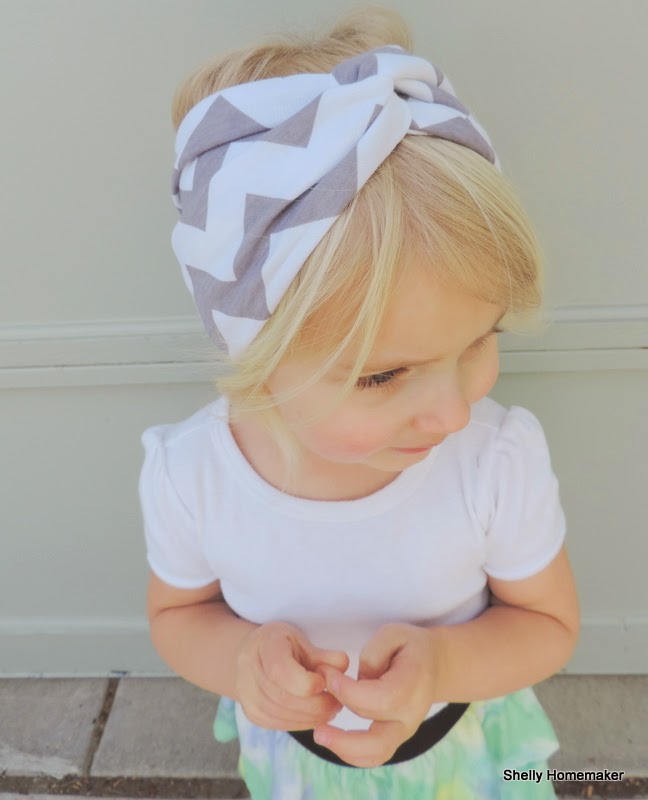
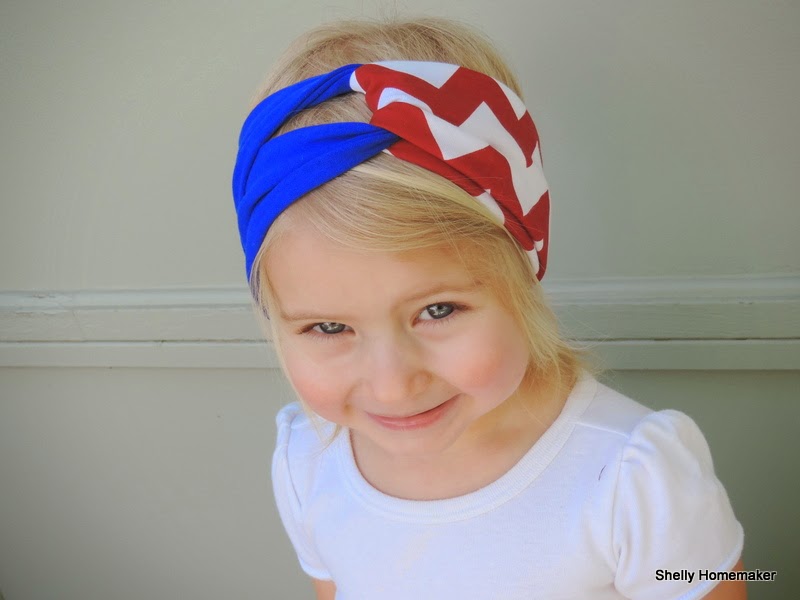
Then once you realize how much you love these, make some more!
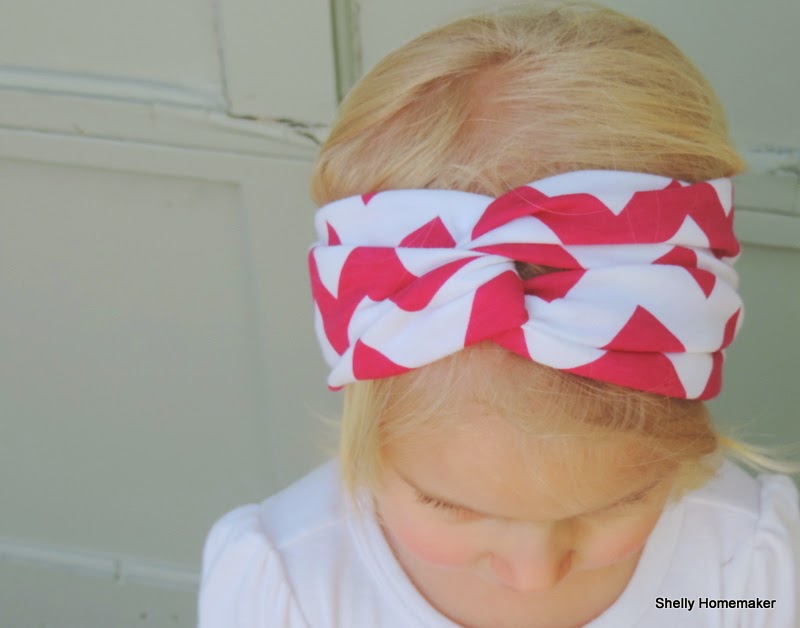
I may have gone slightly overboard for my little cutie.
These are also great on adults – perfect for working out, running, and just making a messy-do look good!
Not into sewing? You can check out my Etsy shop for some listed options!

I couldn’t help it, had to make some for me too 😉
Like this and want to see more? Follow my blog, find me on Facebook and Instagram!


